5.2. Admin Widgets
In this chapter, you’ll learn about widgets and how to use them.
What is an Admin Widget?#
The Medusa Admin's pages are customizable for inserting widgets of custom content in pre-defined injection zones. For example, you can add a widget on the product details page that allows admin users to sync products to a third-party service.
You create these widgets as React components that render the content and functionality of the widget.
You can create an admin widget directly in your Medusa application, or in a plugin if you want to share the widget across multiple Medusa applications.
How to Create a Widget?#
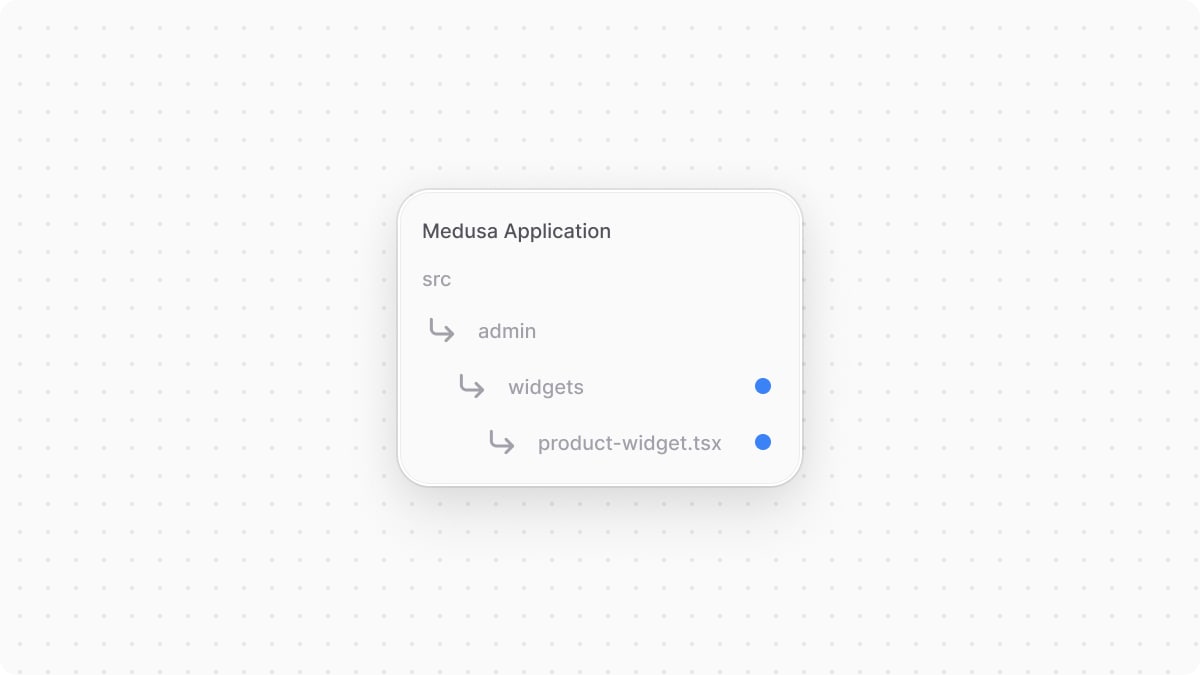
You create a widget in a .tsx file under the src/admin/widgets directory. The file must export:
- A React component that renders the widget. This will be the file's default export.
- The widget’s configurations indicating where to insert the widget.
For example, create the file src/admin/widgets/product-widget.tsx with the following content:
1import { defineWidgetConfig } from "@medusajs/admin-sdk"2import { Container, Heading } from "@medusajs/ui"3 4// The widget5const ProductWidget = () => {6 return (7 <Container className="divide-y p-0">8 <div className="flex items-center justify-between px-6 py-4">9 <Heading level="h2">Product Widget</Heading>10 </div>11 </Container>12 )13}14 15// The widget's configurations16export const config = defineWidgetConfig({17 zone: "product.details",18})19 20export default ProductWidget
In the example above, the widget is injected at the end of a product’s details page.
You export the ProductWidget component, which displays the heading Product Widget. In the widget, you use Medusa UI to customize the dashboard with the same components used to build it.
To export the widget's configuration, you use defineWidgetConfig from the Admin Extension SDK. It accepts an object as a parameter with the following properties:
zone: A string or array of strings indicating the injection zone(s) to inject the widget into.id(optional): A stable string identifier for the widget. When omitted, Medusa derives an ID from the widget file's path at build time. You can set this explicitly to keep layout customizations working if you rename or move the file. Plugin authors should prefix the ID to avoid collisions. For example,"my-plugin:brand-widget".
Test the Widget#
To test out the widget, start the Medusa application:
Then, open a product’s details page. You’ll find your custom widget at the end of the page.
Widget Placement#
Prior to Medusa v2.17.2, widget zones ended with .before or .after to indicate whether the widget should be placed at the beginning or end of the zone. For example, product.details.before would place the widget at the top of the product details page, while product.details.after would place it at the bottom.
As of Medusa v2.17.2, the .before and .after suffixes have been deprecated in favor of Layout Configurations. The login page is the only exception. It isn't part of the layout configurations, so its login.before and login.after zones still place the widget before or after the login form.
Widgets are now placed at the end of the zone they're injected into. For example, if you inject a widget into the product.details zone, it will be placed at the end of the product details page. Then, users can customize the placement of the widget in the Medusa Admin dashboard using Layout Configurations. The widget can be moved to the top of the page or in between core components of the page.
If you're still using the .before or .after suffixes, you can continue to do so, but it's recommended to migrate to the new system. .before and .after (aside from the login page) have no effect on the placement of widgets in Medusa v2.17.2 and later, and may be removed in future versions.
Props Passed to Widgets on Detail Pages#
Widgets that are injected into a detail page receive a data prop, which is the main data of the details page.
For example, a widget injected into the product.details zone receives the product's details in the data prop:
1import { defineWidgetConfig } from "@medusajs/admin-sdk"2import { Container, Heading } from "@medusajs/ui"3import { 4 DetailWidgetProps, 5 AdminProduct,6} from "@medusajs/framework/types"7 8// The widget9const ProductWidget = ({ 10 data,11}: DetailWidgetProps<AdminProduct>) => {12 return (13 <Container className="divide-y p-0">14 <div className="flex items-center justify-between px-6 py-4">15 <Heading level="h2">16 Product Widget {data.title}17 </Heading>18 </div>19 </Container>20 )21}22 23// The widget's configurations24export const config = defineWidgetConfig({25 zone: "product.details",26})27 28export default ProductWidget
The props type is DetailWidgetProps, and it accepts as a type argument the expected type of data. For the product details page, it's AdminProduct.
Injection Zones List#
Refer to the Admin Widget Injection Zones reference for the full list of injection zones and their props.
Custom Injection Zones#
Plugins can register custom injection zones to extend the widget system beyond the core zones. This is useful when creating custom admin pages in a plugin and you want to allow other developers to inject widgets into your custom pages.
Refer to the Custom Injection Zones chapter to learn how to add custom injection zones in a plugin.
Admin Components List#
While the Medusa Admin uses the Medusa UI components, it also expands on them for styling and design purposes.
To build admin customizations that match the Medusa Admin's designs and layouts, refer to the Admin Components guide. You'll find components like Header, JSON View, and more that match the Medusa Admin's design.
Show Widgets Conditionally#
In some cases, you may want to show a widget only if certain conditions are met. For example, you may want to show a widget only if the product has a brand.
To prevent the widget from showing, return an empty fragment from the widget component:
1import { defineWidgetConfig } from "@medusajs/admin-sdk"2import { Container, Heading } from "@medusajs/ui"3import { 4 DetailWidgetProps, 5 AdminProduct,6} from "@medusajs/framework/types"7 8// The widget9const ProductWidget = ({ 10 data,11}: DetailWidgetProps<AdminProduct>) => {12 if (!data.metadata?.brand) {13 return <></> // Don't show the widget if the product has no brand14 }15 16 return (17 <Container className="divide-y p-0">18 <div className="flex items-center justify-between px-6 py-4">19 <Heading level="h2">20 Brand: {data.metadata.brand}21 </Heading>22 </div>23 </Container>24 )25}26 27// The widget's configurations28export const config = defineWidgetConfig({29 zone: "product.details",30})31 32export default ProductWidget
In the above example, you return an empty fragment if the product has no brand. Otherwise, you show the brand name in the widget.